SmartOS as a UTM Guest on Apple Silicon
Detailed Guide
UTM is a virtual machine host for macOS based on QEMU.
Currently installing SmartOS on UTM with Apple Silicon is experimental. If you are new to SmartOS and want to try in a VM, it would be best to try this on a host with x86_64 architecture (Intel/AMD). The instructions here are intended for testing and development use cases.
Because running SmartOS under UTM on Apple Sillicon requires using full emulation, the experience is not as good as it would be using x86_64 hardware. Issues users have encountered include tasks taking a very long time and zones failing to provision or boot.
The settings below should be sufficient to get a SmartOS vm running under UTM. There may be additional performance improvements to be made, and the guidance may require updates as changes are made to UTM.
Note: KVM and bhyve guests are not supported when running under full emulation.
- Download and verify the latest SmartOS iso image from the downloads page
- In UTM, click "Create a New Virtual Machine"
- Select "Emulate"
- Select "Other"
- Under "Boot ISO Image" choose the image you downloaded
Settings
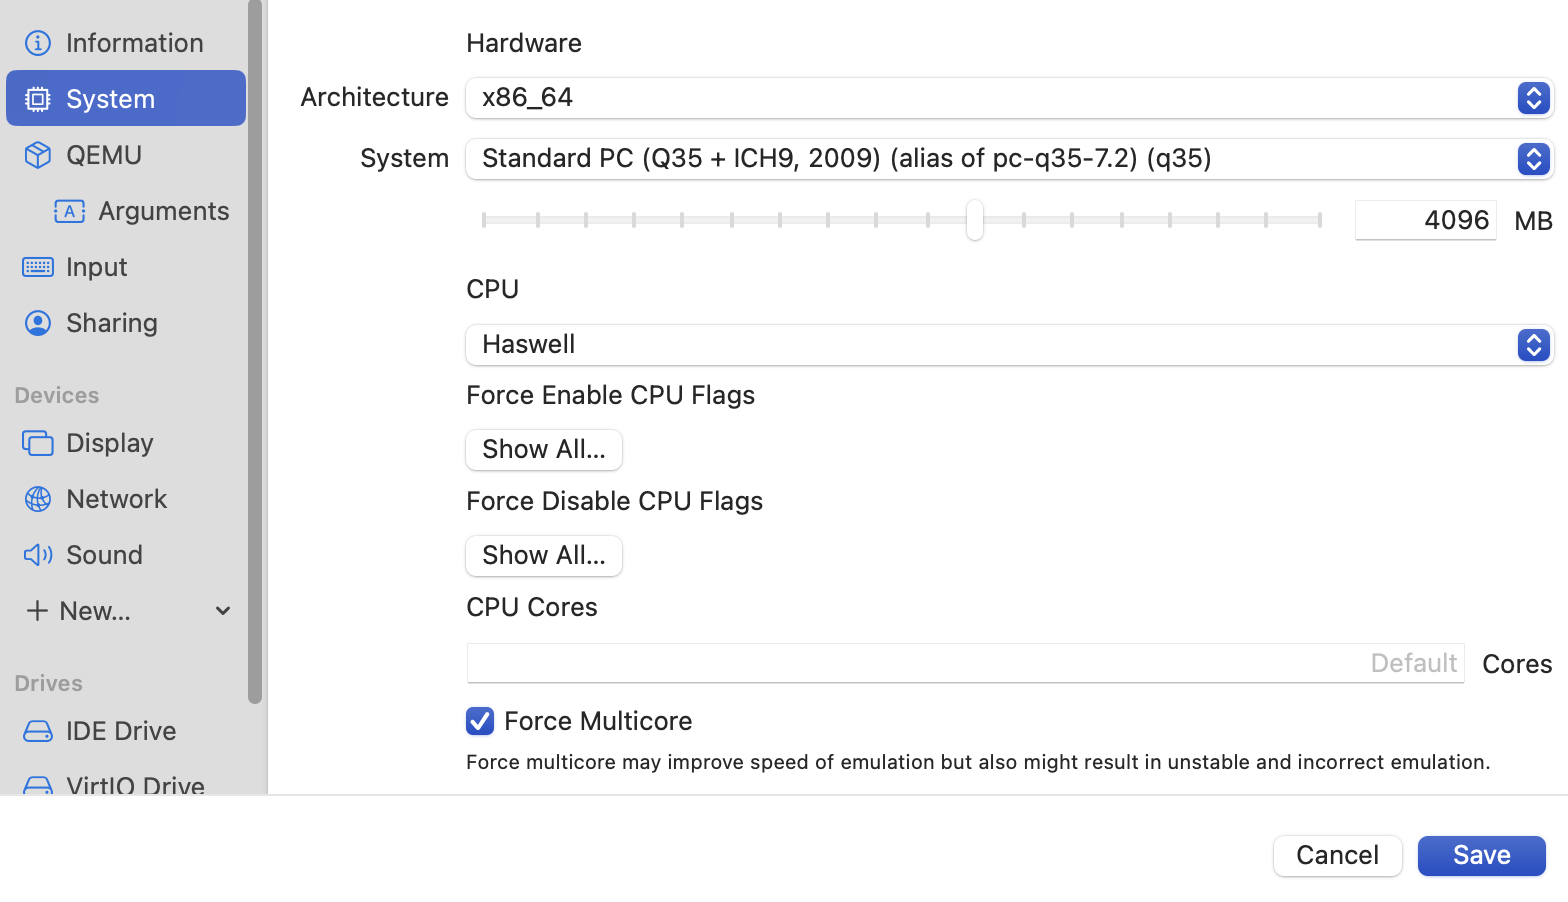
- Architecture: x86_64
- System: Standard PC (Q35 + ICH, 2009) (alias of pc-q35-7.2) (q35)
- Memory: 2048 MB or larger
- CPU: Haswell (others may work)
- CPU Cores: Default
- Drive size: 25 GB or larger
- Shared Directory: leave this disabled
- Name: SmartOS (or your choice)
- Check the box "Open VM Settings"
System tab
- Check Force Multicore
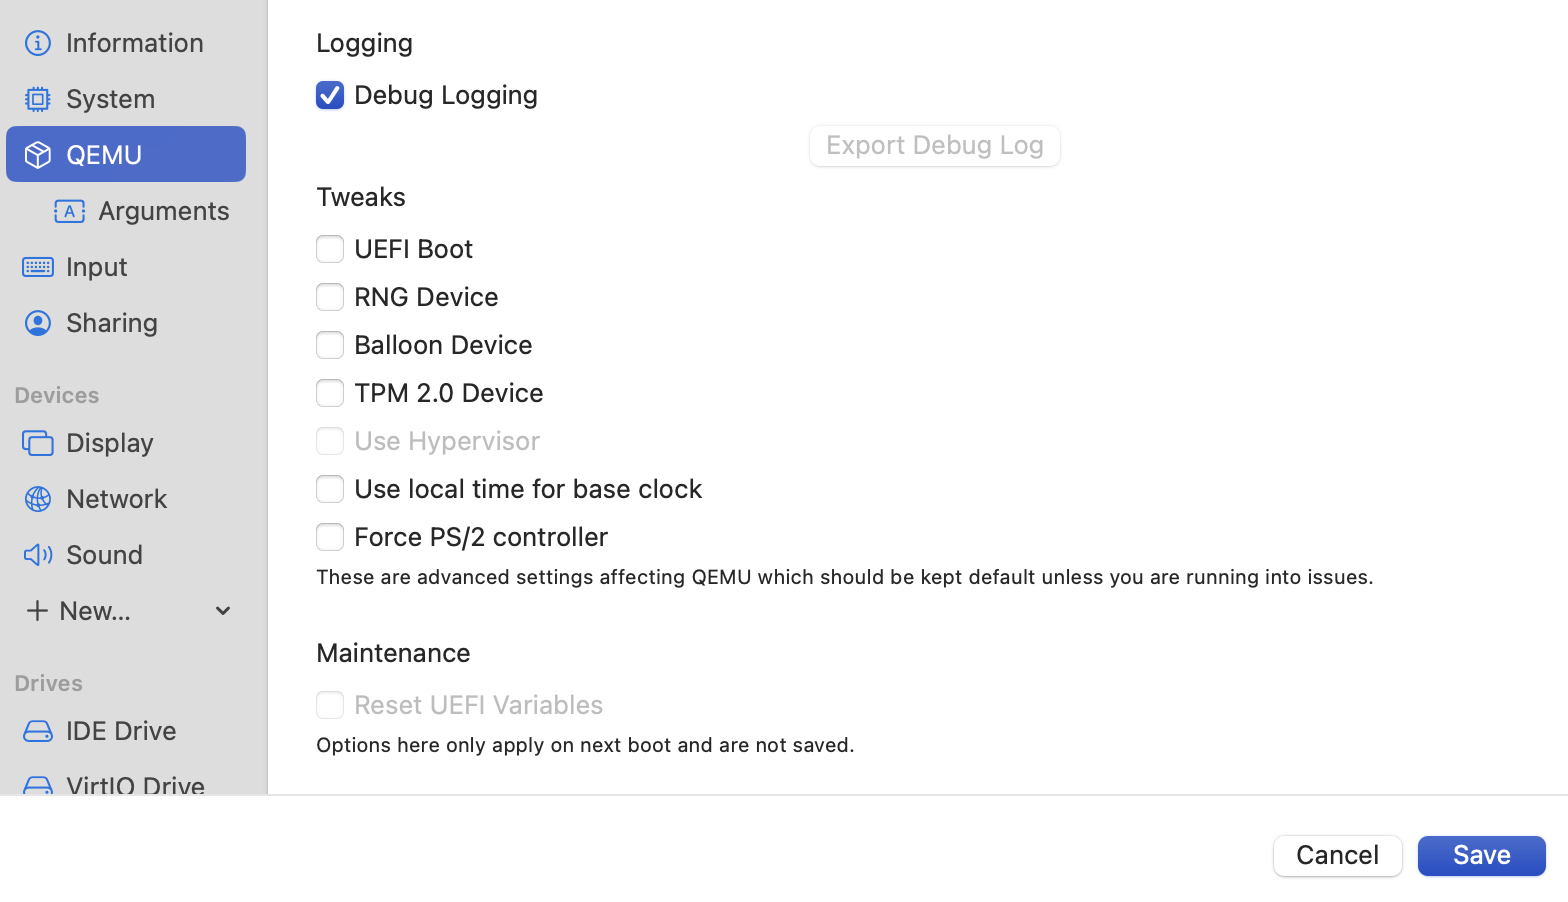
QEMU tab
- Check Debug Logging (will be useful on diagnosing issues)
- Uncheck UEFI Boot
- Uncheck RNG Device
Input tab
- USB Support: Disabled

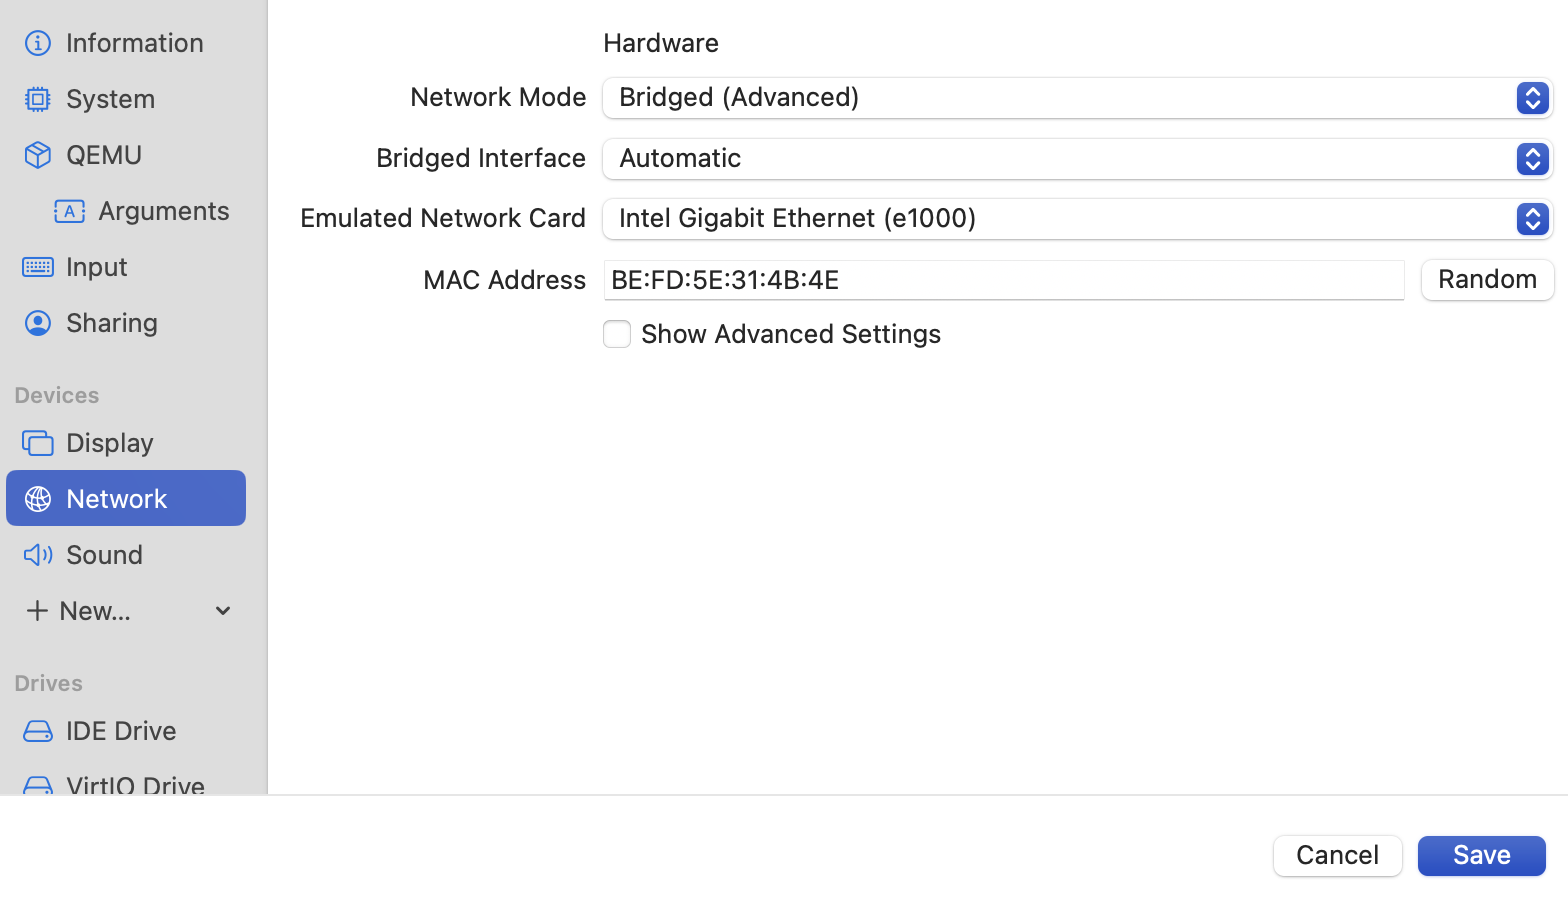
Network tab
- Network Mode: Bridged (Advanced)
- Emulated Network Card: Intel Gigabit Ethernet (e1000)
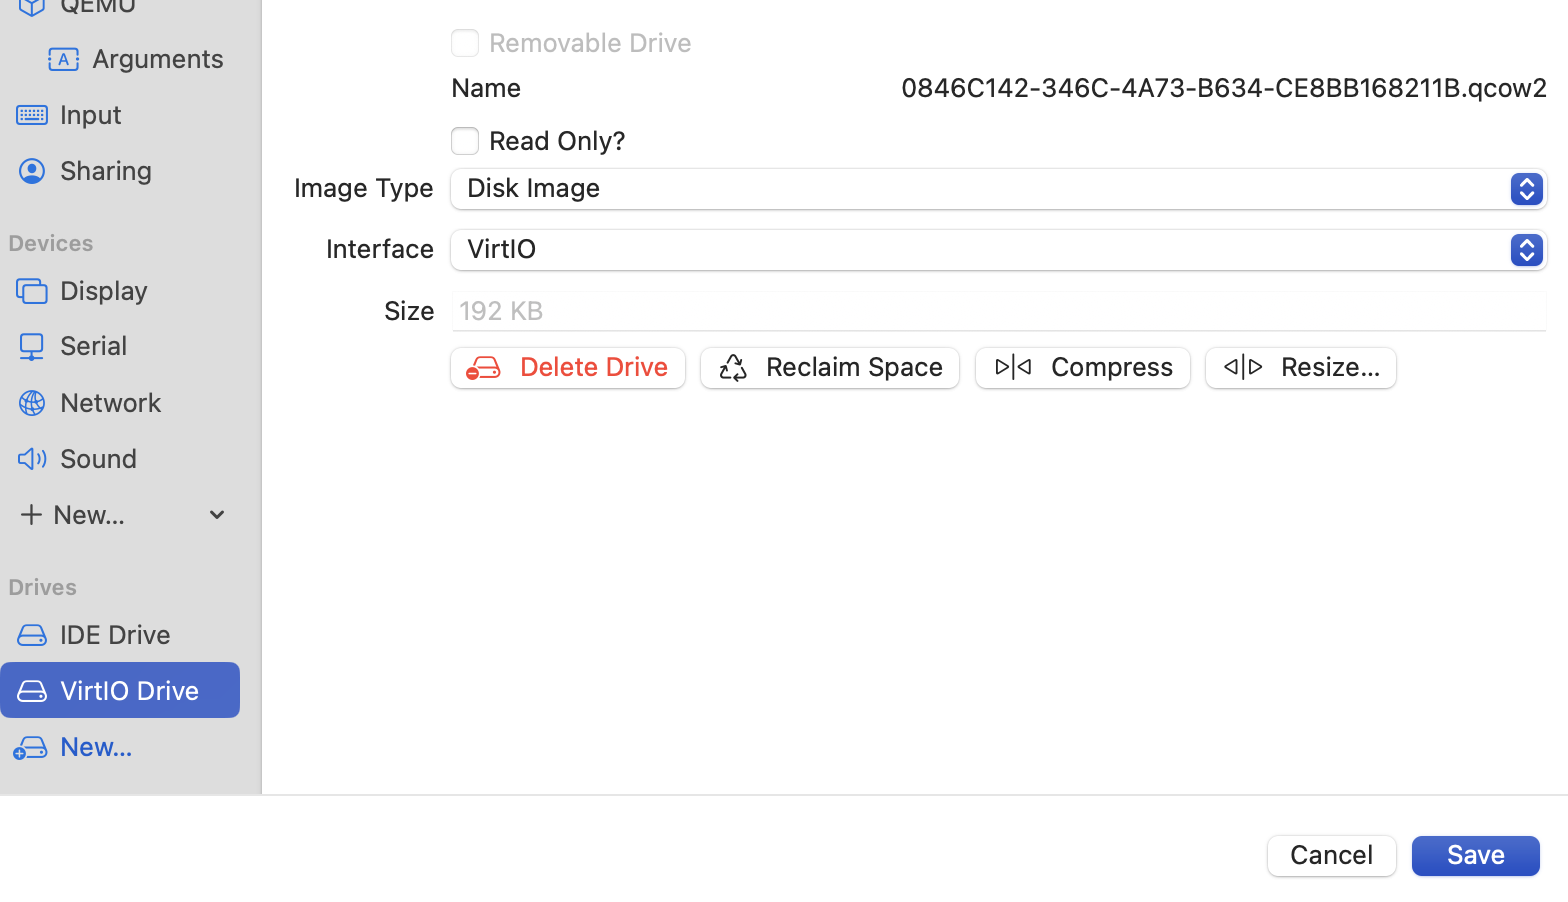
Drives tab
- Change the disk drive interface from IDE to VirtIO
- The DVD/CD ROM drive interface must be IDE
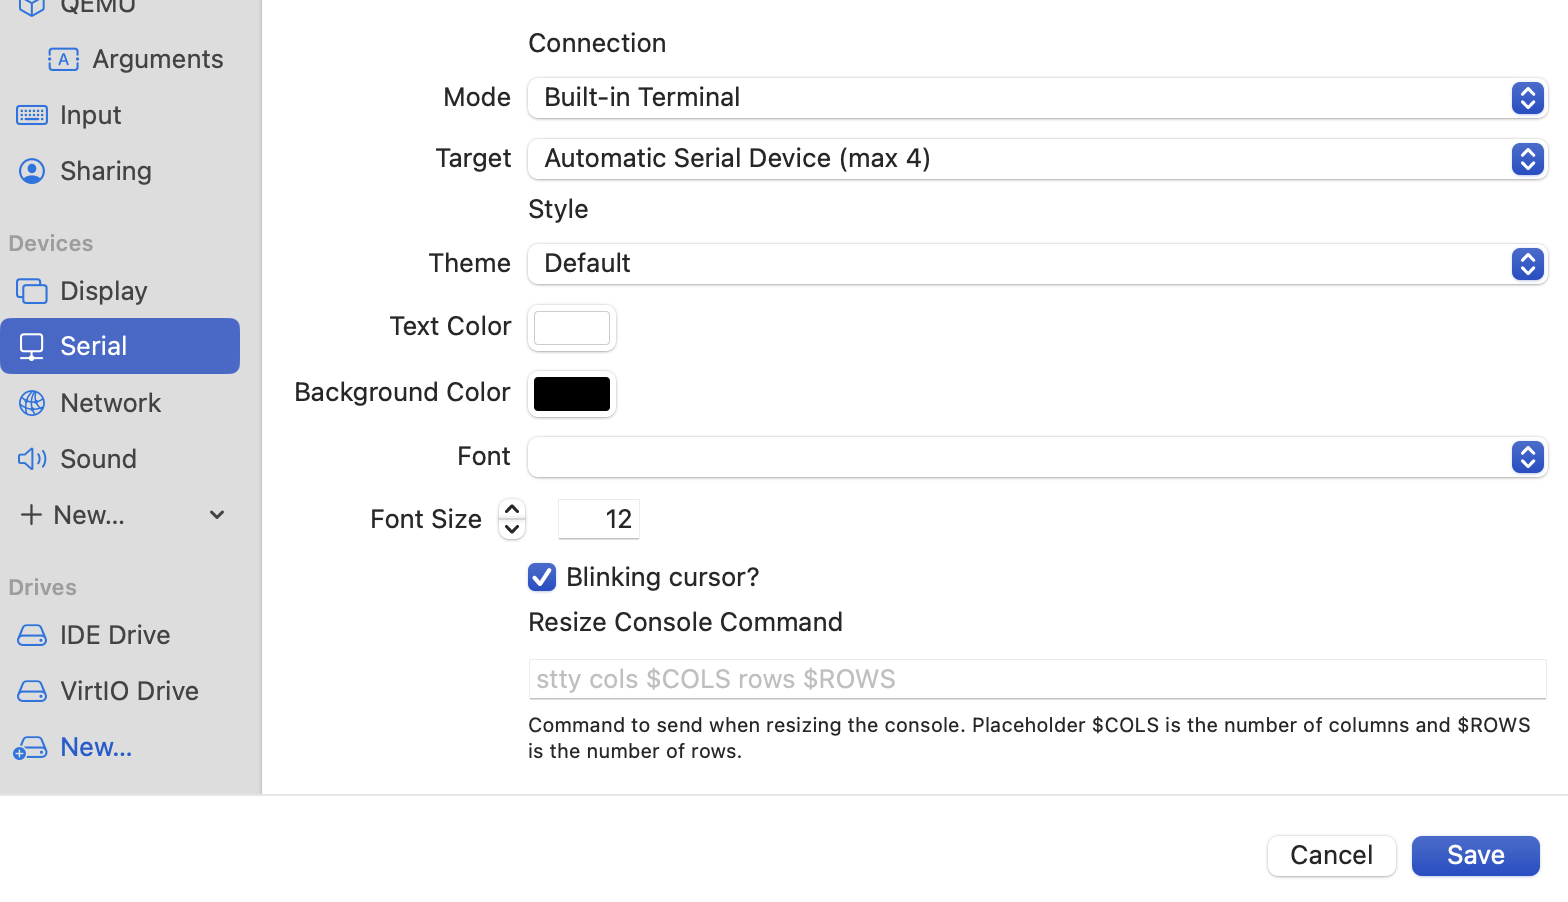
Devices (optional)
- Add a new serial device
- The default built in terminal can be used that will open when the VM is started
- TCP Server Connection can also be used to select a port and connect over TCP
- PseudoTTY can also be used which can then be used with the
screencommand - For more information on serial devices in UTM please refer to the UTM documentation
Installation
From here, install SmartOS following the normal installation process.